Kombucha – a fermented tea drink. It isn’t for everyone, but this FLX Hobbit loves its tart flavor and effervescent taste. Plus, it helps my sensitive stomach, so that I can still enjoy all the foods I love, some of which would otherwise disagree with me. “Gut Health” is a buzz word right now, but I believe it’s what our ancestors were well aware of; the right foods can make you feel good. They might not have known that these tasty treats, which were changed by time and air, were the results of tons of airborne microorganisms feasting on sugars and converting them to acetic acids and alcohols, but they knew that it made them feel better and tasted great! But now we know about this process, and refer to those sugar loving microbes as probiotics, which help to ferment this drink. Kombucha is chock-full of probiotics, and if made right, it can be low in sugar and full of flavor! And of course, you can buy it in the grocery store, but why would a Hobbit do that when I know I can make it just as good? So this is my Kombucha story, and it will consist of the first and second brew stages of the recipe. This post will focus on the First Brew stage, so let’s get started.
First Brew – The Method: First, you need to collect all your tools. You will need a system of heating water to a boil, I use an electric kettle. My favorite is from Hamilton Beach. It’s an inexpensive kettle, and available on amazon or your local “everything” store. It works easily and has a pretty blue glow, and the best thing about electric kettles is they are quiet and turn off when they have reached a boil. But you can also just boil filtered water on the stove; boil 1.7 Liters, which is about 7 Cups of filtered water.

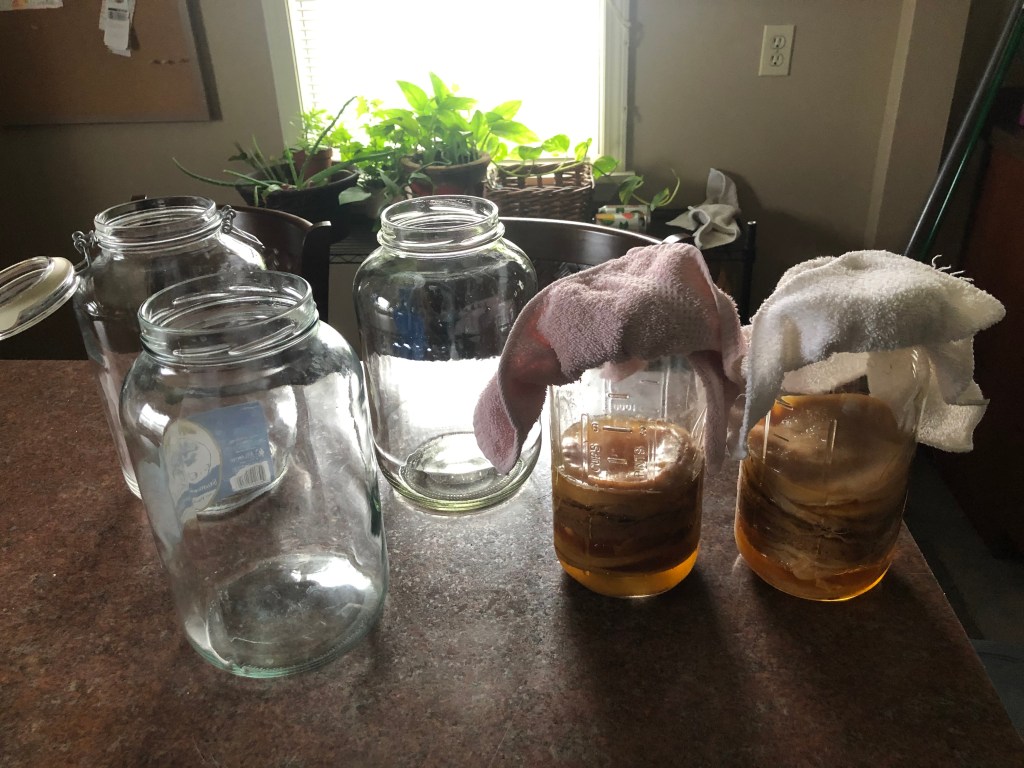
You will also need a gallon glass jar that is tempered (I found a large pickle jar, and washed it very thoroughly, but a gallon canning jar works just as well), a bowl for mixing, measuring cups, a thermometer, a non-metal mixing tool, tea towels, rubber bands, good quality black tea, white sugar, and filtered water. You will also need a SCOBY (see SCOBY quick start guide below). A SCOBY (which stands for Symbiotic Culture of Bacteria and Yeast) will be your best friend, and what we call “The Mother”. This little, weird, alien-looking thing will help you brew batch-after-batch of yummy Kombucha. It’s alive, so be nice to your SCOBY, and treat it gently and keep it out of direct sunlight. Lastly, you will need about 2 cups of what I call “Starter Fluid” (the real name is “Inoculation Liquid”, but I think it’s more amusing to call it “Starter Fluid”. This gets the fermentation process started.), which is unflavored previously brewed Kombucha. You can either purchase a SCOBY with the Starter Fluid online, or you can make it yourself. This post assumes you already have your own SCOBY and Starter Fluid (pictured below, with more jars and SCOBYs than you need… What can I say, I was on a Kombucha brewing kick!). But if you don’t have your own SCOBY and Starter Fluid, below is a quick and inexpensive way to make your own.
Quick-start Guide to making your own SCOBY and Starter Fluid: Simply purchase an 18 ounce bottle of unflavored raw Kombucha (I like GT Synergy), pour it into a open glass jar, cover it with a tea towel, wrap a rubber band around the top to keep fruit flies out, and set it in a dark room-temperature place (where it will not be disturbed) for 30 days. At the end of 30 days, a healthy SCOBY will have formed on top of the liquid. Now you have your SCOBY and Starter Fluid! If you don’t have 2 cups of Starter Fluid once the SCOBY has formed, add in some unflavored sweet tea to the Starter Fluid, and wrap it up to ferment for a few days before you use it to inoculate your mixture.
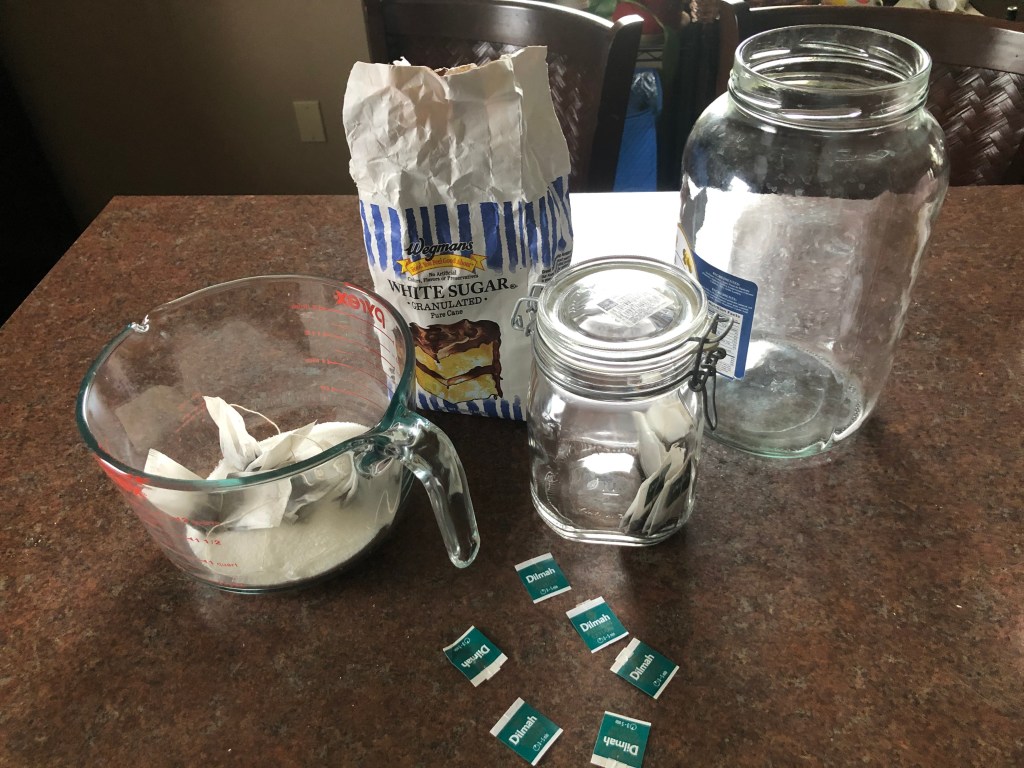
Now back to the First Brew – The Method: My favorite black tea is called “Dilmah”. I discovered it while working in the museum in Western Australia. My co-workers would gather around the kettle each morning as soon as we got into the office, and again in the afternoon, to make a “cuppa”. They would brew this strong rich black tea, and mix it with about two tablespoons of half and half and around a teaspoon of sugar. It’s a lovely tea, and you can order it online. Or you can find yourself another great black tea from the store, but nothing beats this 100% Single Origin Ceylon Tea from Sri Lanka. This is the best tea for all sorts of yummy cold and warm tea-based drinks!
First Brew – The Ingredients and Brewing: Measure out 7/8 cup of sugar into your mixing bowl, and place six tea bags in the bowl with their tags removed. Pour in four cups of filtered water that was just boiled, and stir the liquid with your non-metal mixing tool until all the sugar is melted and the mixture is a lovely reddish-dark brown. Set a timer for 15 minutes, and let the tea brew. Make yourself a cuppa while you wait, and enjoy, as Hobbits do love a good cup of tea!
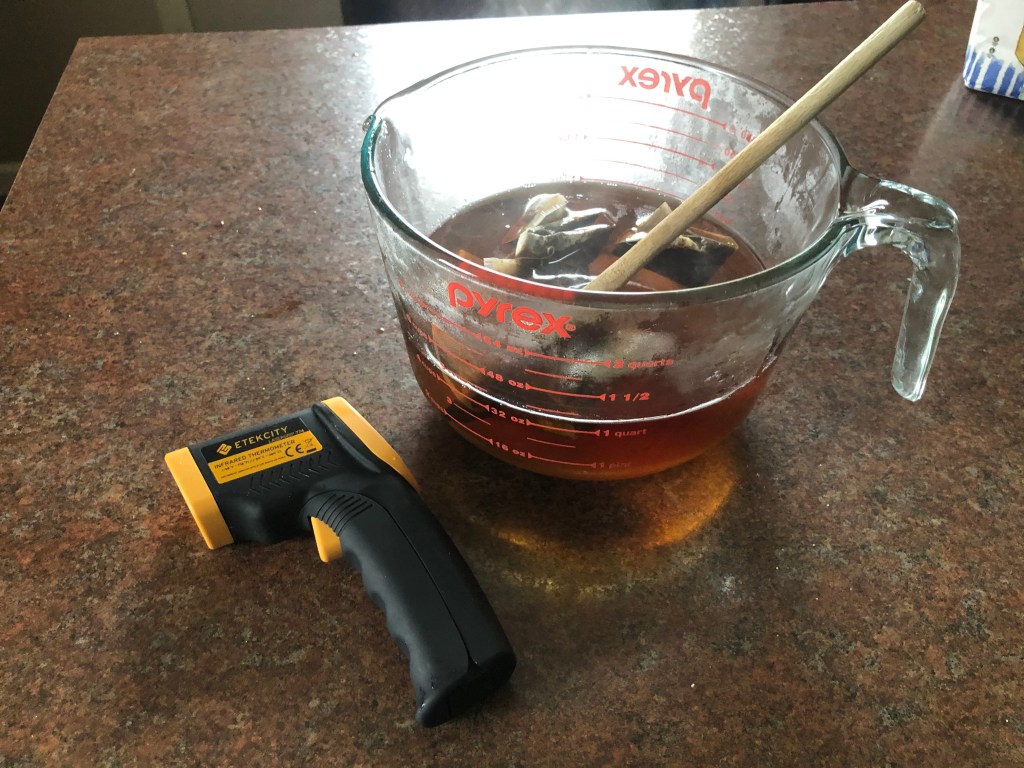
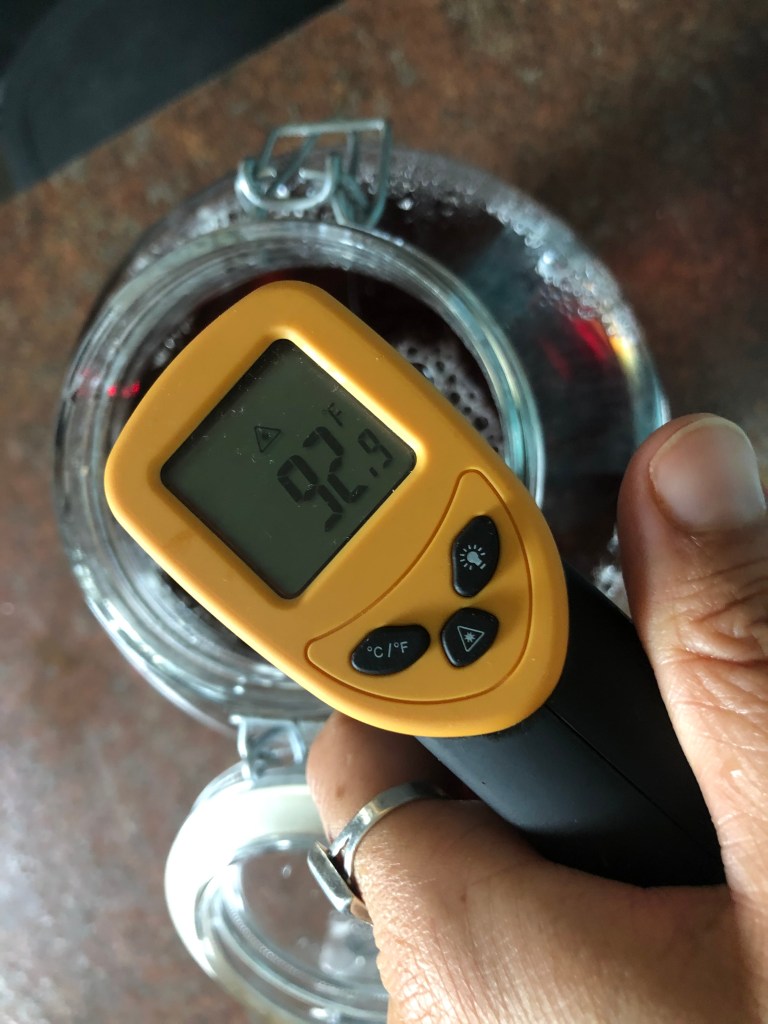
I use a infrared thermometer, but any will do.
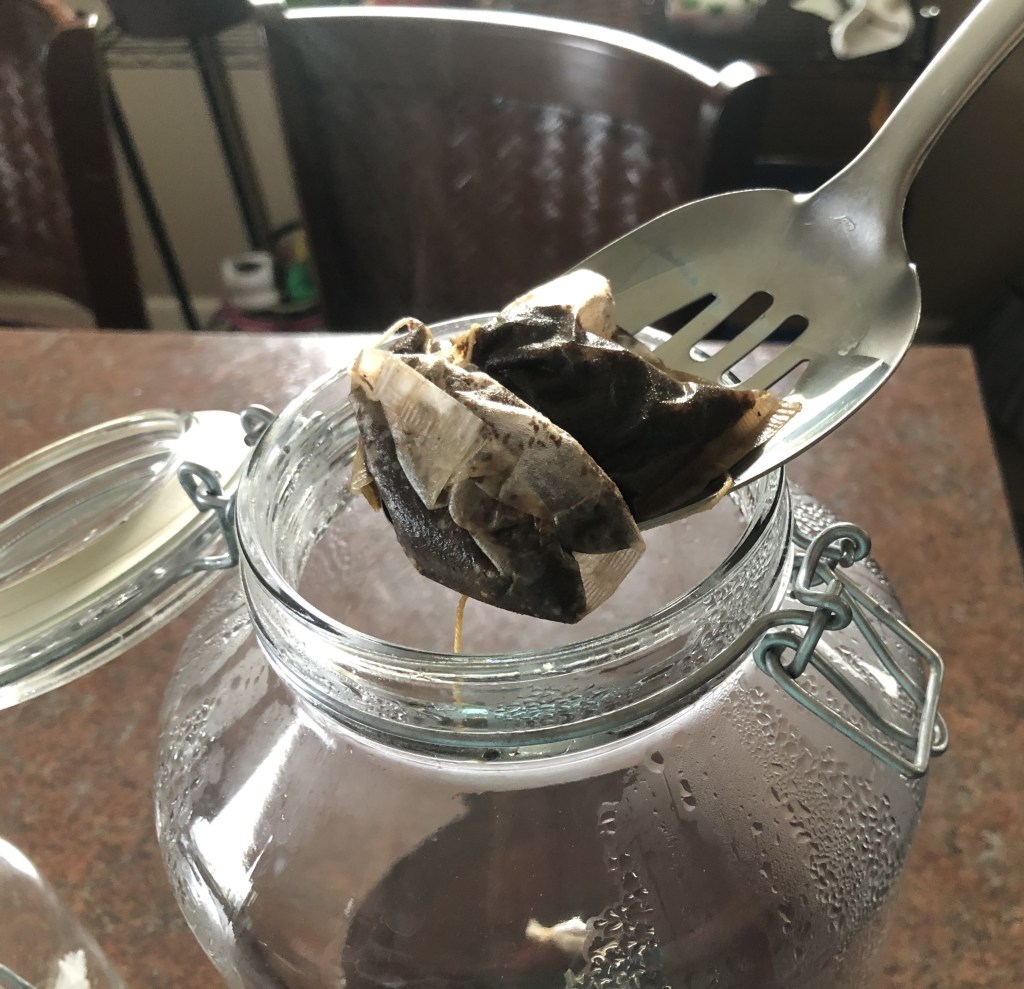
Now once the tea is brewed and the 15 minutes have passed, add more cold filtered water to the mixture, and pour it into your gallon sized glass jar. Strain out the tea bags, and set them aside (we will use them later for your SCOBY hotel).
Add more filtered water until the temperature of the mixture goes below body temperature (below 97 degrees Fahrenheit or 36.1 degrees Celsius).
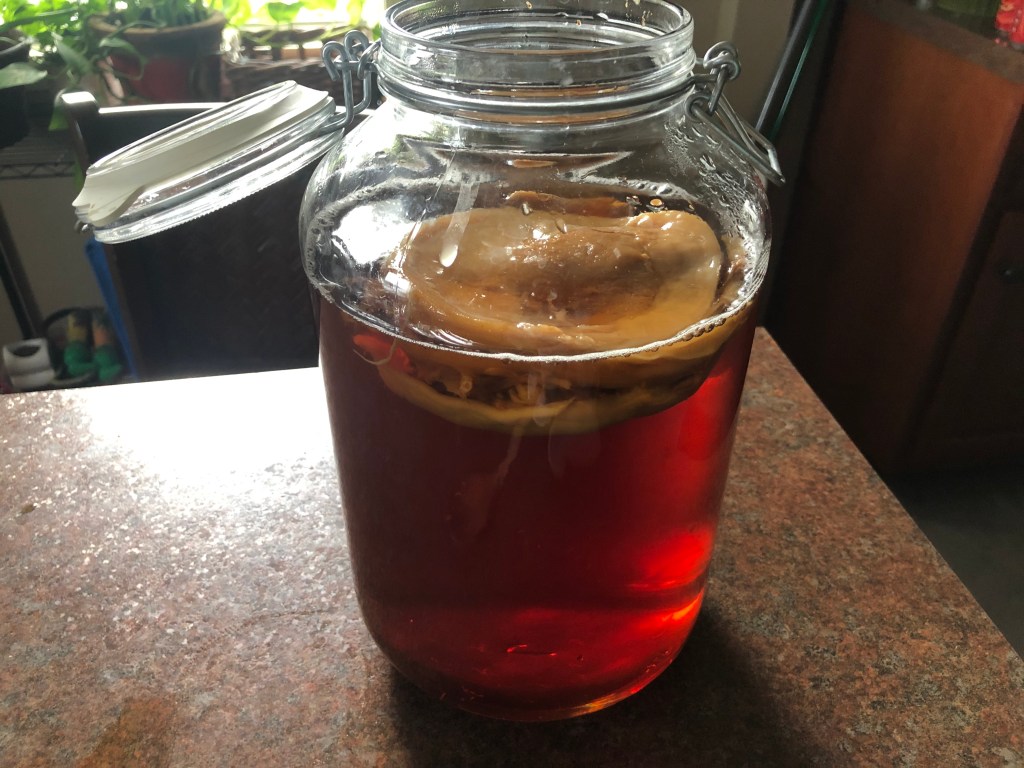
Once the mixture is below body temperature, you can add in your SCOBY. Make sure your hands are clean, and gently pick up your SCOBY and slip it into your cooled sweet tea mixture (that’s what it is at this point, just sweet tea!).
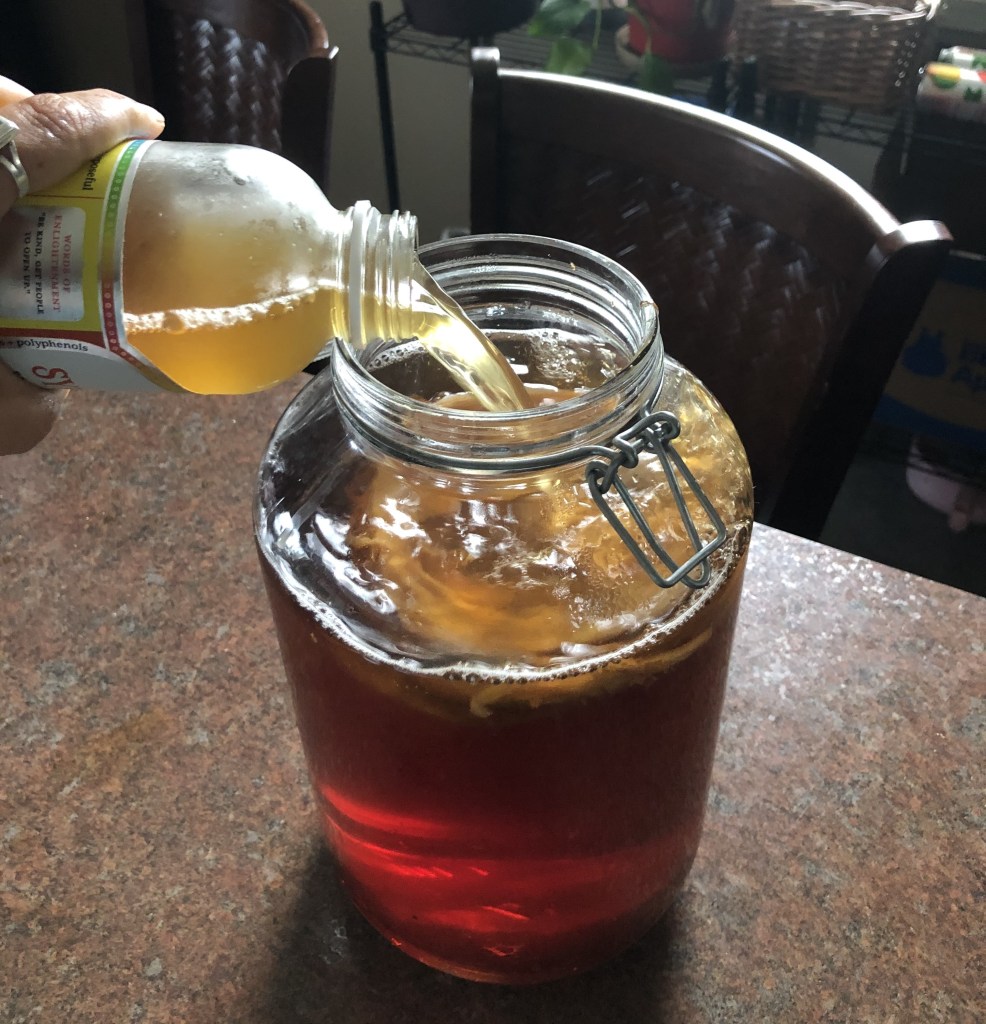
Now you can pour in your 2 cups of Starter Fluid (or Inoculation Liquid), and add more filtered water until you almost fill it up the rim (Leave an inch or so of space right at the top for everything to move and breathe).
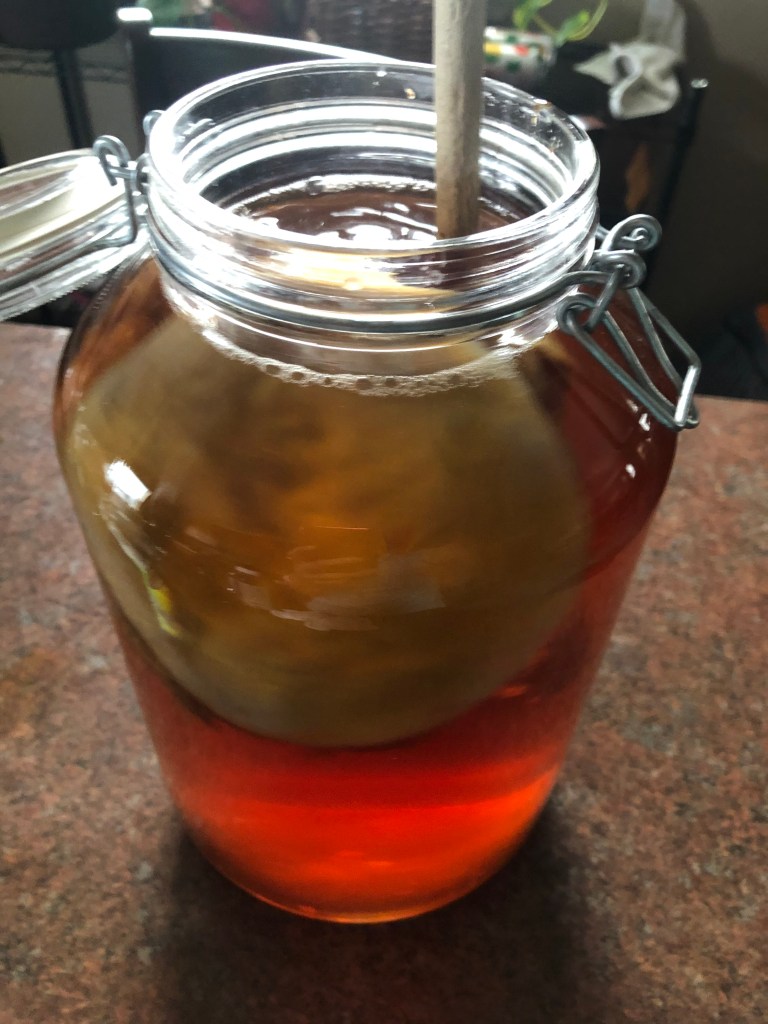
Now stir everything together with your non-metal mixing tool. The SCOBY doesn’t like metal, so I use a wooden mixing spoon.
Then cover it up with something that breathes, like a tea towel or washcloth, and put a rubber band around it to keep anything out that you don’t want to get in to your mixture (such as fruit flies, which are the bane of a Hobbit brewers existence!).
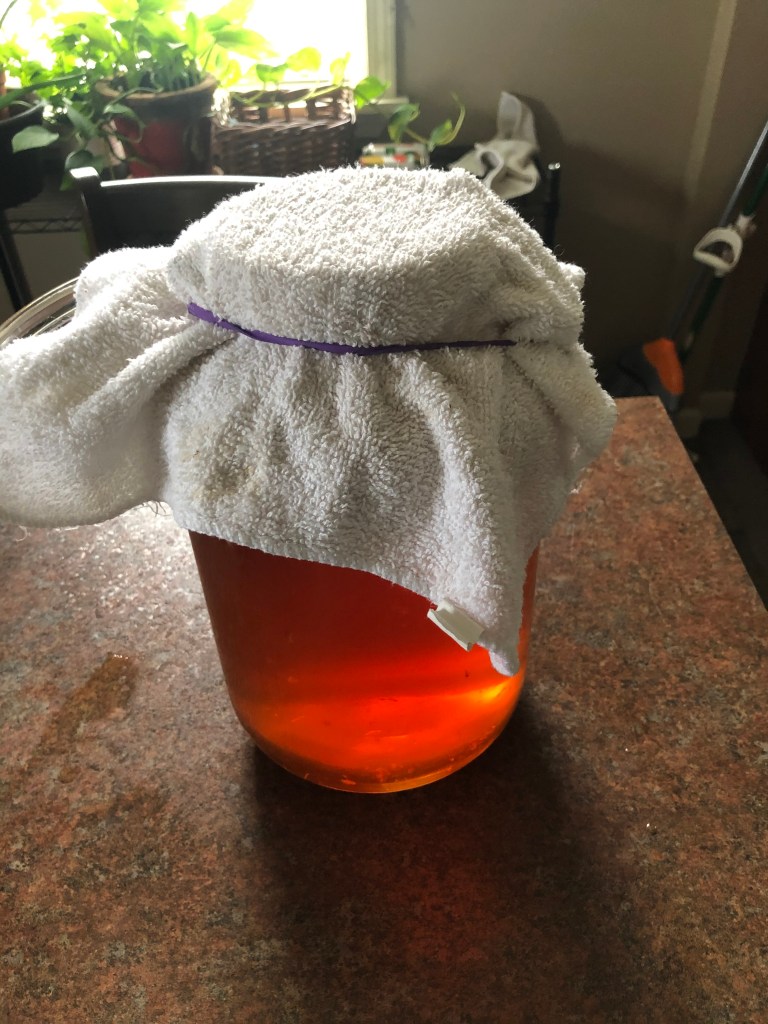
Then store your vessel in a room-temperature dark place, where it will not be disturbed, for 7-10 days. You will know when it’s ready for the Second Brew stage when a new SCOBY has begun to form on the top of the liquid, and the flavor of the mixture is tart and somewhat bubbly. You can also purchase pH strips, and test the pH of your mixture. pH strips are available online, and the pH will be about 2.5-3.5 when it is ready for the Second Brew stage.
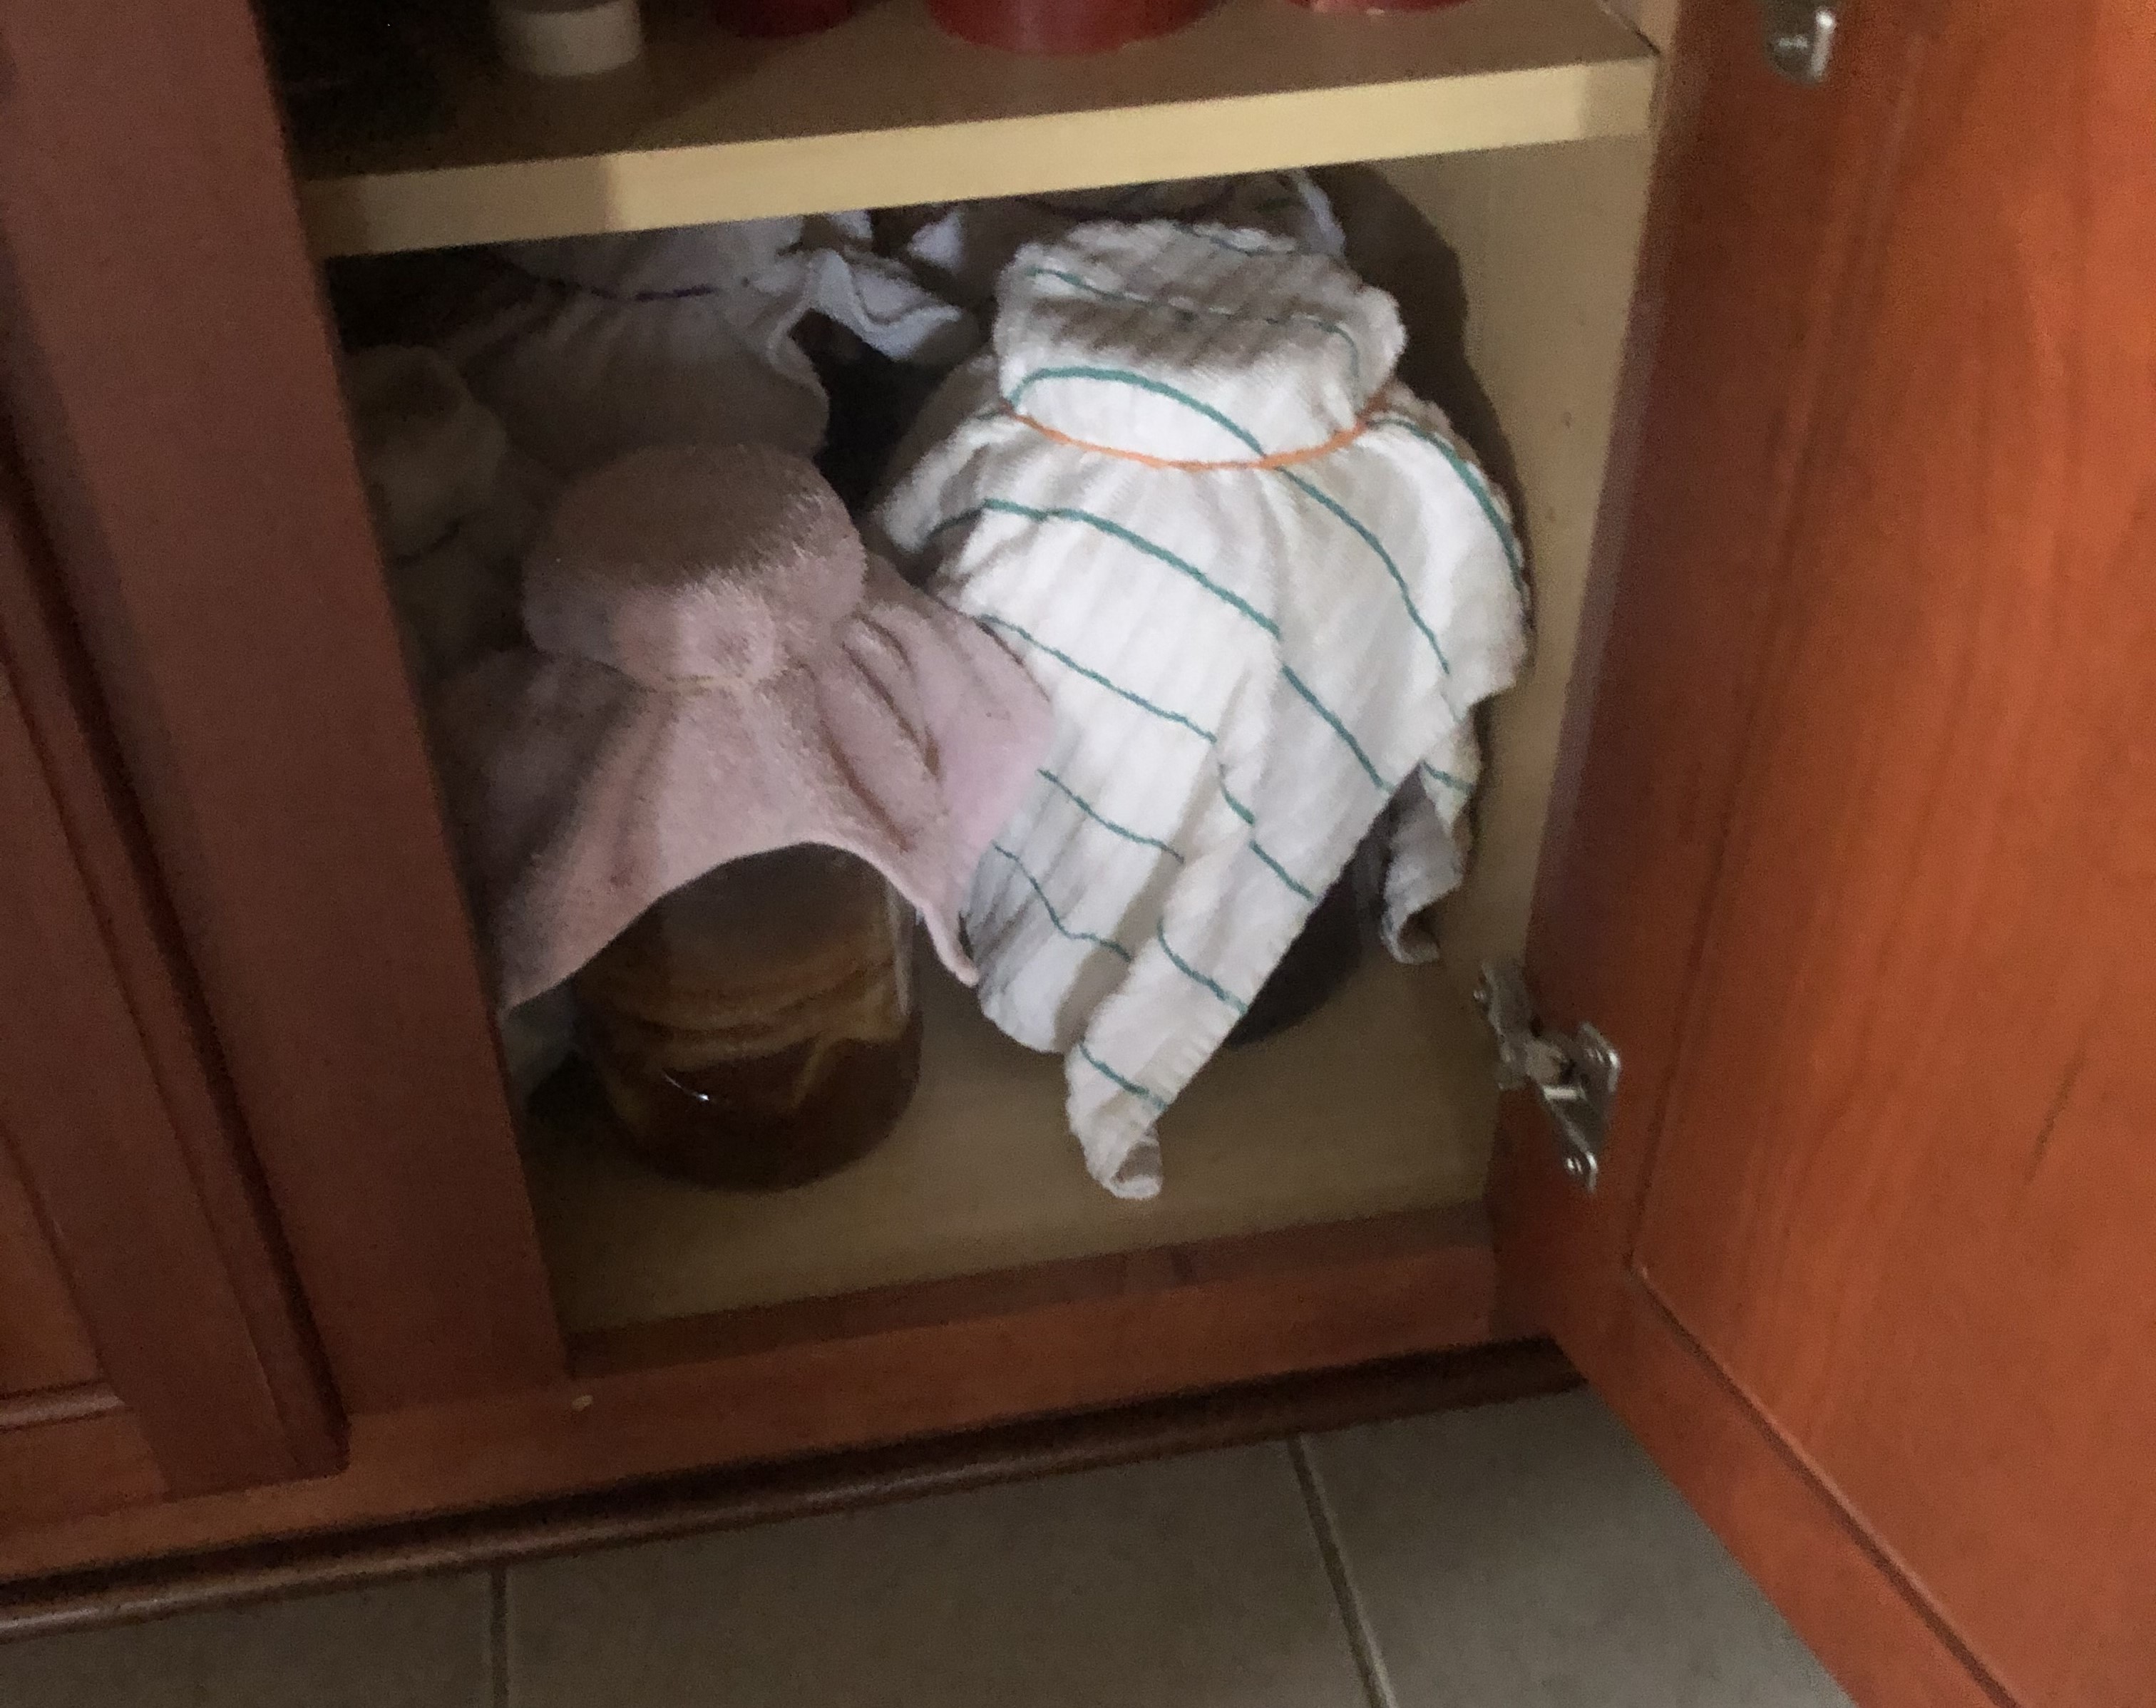
Here is my First Brew Kombucha and my SCOBY Hotel, which is just a vessel to store a few extra SCOBYs for when you aren’t using them.
Let the First Brew stage Kombucha rest in its room-temperature dark storage place, and do not disturb it during the 7-10 next days. Your patience will be rewarded (*Shhhhhh…the Kombucha is resting!*).
The next post will be about the Second Brew stage, as well as the SCOBY hotel and caretaking of your SCOBY. Now I’m off to enjoy a nice cuppa tea and second breakfast!

Leave a comment